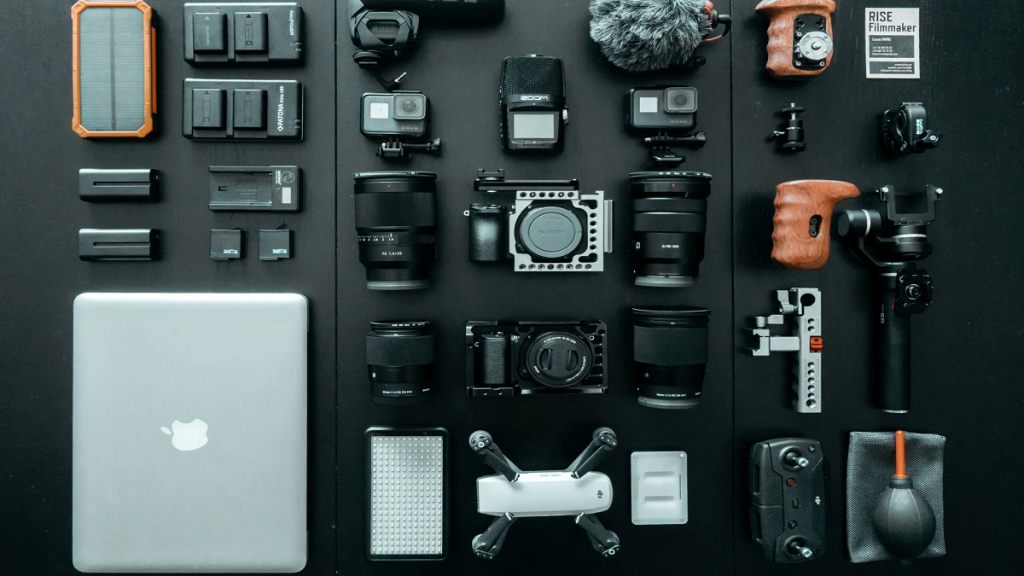
Content creation, particularly through vlogging, has recently seen exponential growth. If you are a beginner, consider having some Best Vlogging Tools at your disposal. But also note that it’s very easy to differentiate the good thing from the bad simply by the equipment you use. If you don’t want to be in the second-class, shabby category, invest in some Best Vlogging Equipment & keep rolling.
Initially, you need to invest in high-priced professional models; some user-friendly & cheaper alternatives still do the work. Later, with growing experience & efficiency, you can always consider upgrading your gears.
Best Vlogging Tools
1. Camera

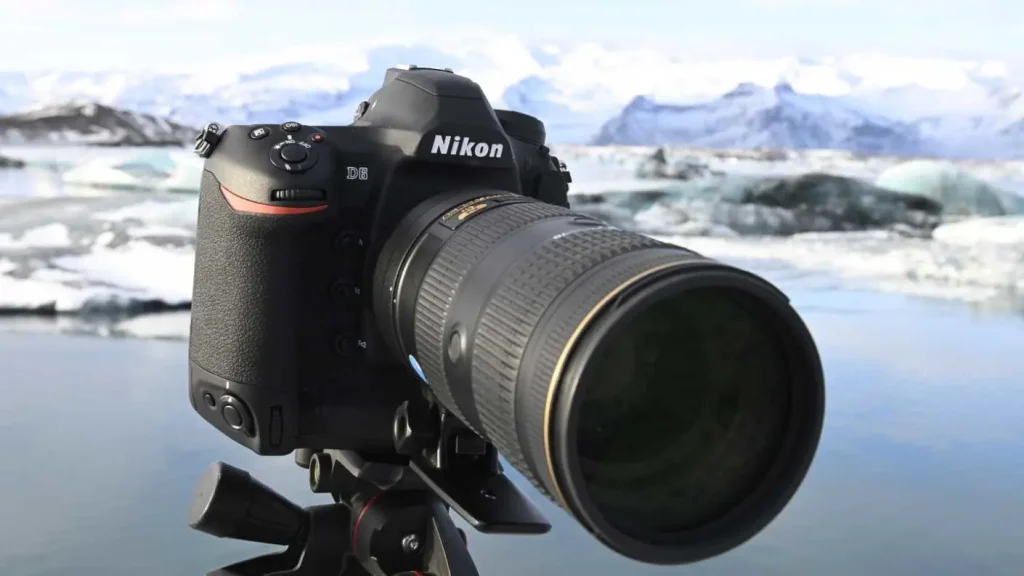
This one is the most obvious inclusion. To create captivating content, you must have an excellent camera that captures everything. Whether it is compact, DSLR, or mirrorless, the type of camera doesn’t matter much, but its features do.
You have to ensure the camera has excellent video quality (the best would be 4k resolution), a microphone jack, an inbuilt stabilizer, a rotating LCD screen, portability & manual mode.
Before going for a high-feature professional camera, familiarize yourself with some basic yet decent cameras within your budget. Consider learning about the manual mode, as it can deliver remarkable results. You must be familiar with the meme which shows a camera saying, “Everyone is a photographer until the manual mode.
2. Portable Lights
Whether you are recording videos indoors, outdoors, or in a studio, it’s wise to have at least one or two portable lights with you. That’s because you can use them to ensure your audience sees your content clearly, particularly in difficult lighting conditions.
There are numerous affordable choices like portable LED video lights & LED ring lights. If you are mainly trying to shoot indoors or in a home studio, you can use a softbox or umbrella lights for softer highlights & shadows.
Once you get your equipment, you should also know how to use them. Depending on the effect you want to attain, you can use several lighting methods while vlogging, like three-point lighting, butterfly lighting, or low-key lighting, as per requirement.
3. Tripod

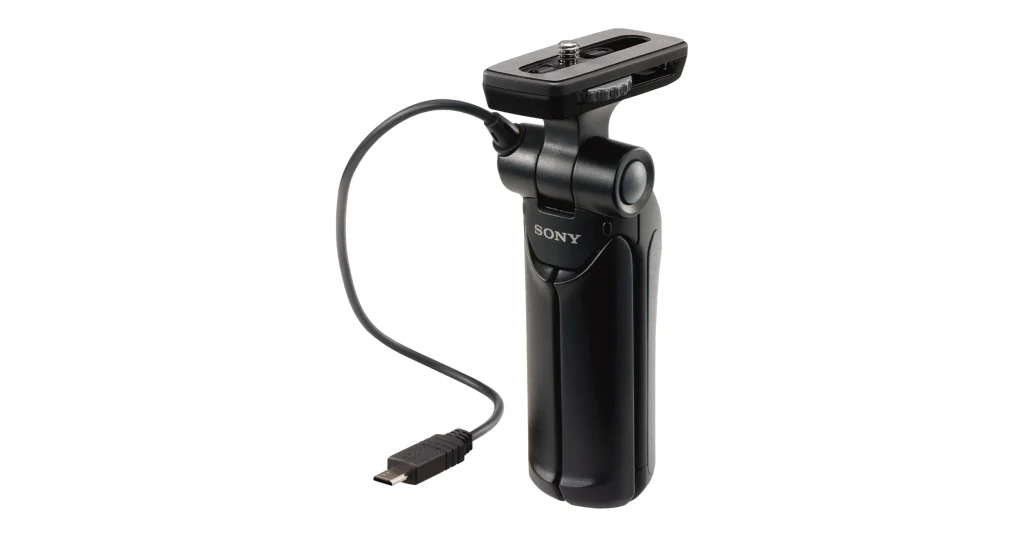
Nothing reaches its true potential without a strong support system in life & while vlogging, too. Nobody likes shaky footage, which is why you must invest in one of the Best Vlogging Tools, i.e., a strong tripod.
Moreover, a tripod means you are hands-free and can use them to express yourself better. There are many, many affordable & good choices out there depending on the weight of your camera.
It is also ideal to use it as a grip when holding the camera in front of you. It is also lightweight, so you don’t need to have advanced equipment to use it. A good tripod is a must-have equipment for any vlogger’s kit.
4. External Microphone
While nowadays smartphones come with improved quality of their built-in microphones, there’s still no substitute for an excellent standalone microphone.
After all, your audience may endure a poor-quality video if the content is captivating, and it isn’t easy to listen to low-quality audio. If your viewers can’t listen to or understand what you are saying in the video, they will skip it.
If your smartphone comes with a 3.5mm audio jack, you can use any external mic. You can use 2.5 to 3.5mm adapters to convert custom-built microphone slots to attach a professional microphone.
However, if you are using a flagship device with no port for a jack, quite a few USB-C-type microphones are available on the market today. Using a Lightning-enabled iPhone, you can use a USB-C to Lightning adapter to use professional standard microphones for your vlog.
5. Microphone Muffler
This is a must-have & one of the Best Vlogging Equipment. You know that horrible wind noise or noise of traffic you get when you are recording outside? It can ruin any video. The MicroMuff (short for Microphone Muffler) helps to diminish that sound. You can attach it to your camera with velcro & glue. Super simple & efficient.
While it cannot ensure noise-free audio, it can undoubtedly lessen the noise of hustle-bustles outdoors. There are particularly effective when shooting a video in high altitudes or making a video & interviewing someone outdoors.
6. A Good Computer
You are all set with raw footage & audio, but now you must edit them to create flawless & gripping content. You must invest in a good laptop or assemble a desktop as your choice.
You must ensure that the computer or laptop has a good amount of RAM, a good processor & motherboard, & a good GPU (Graphics Processing Unit) to accomplish all resource-hungry editing tasks without lag.
Many vloggers prefer to use a gaming laptop as they come with robust in-built specifications & a good graphics card, ensuring the job of editing goes lag-free & hassle-free.
Read More: 9 YouTube Growth Tools To Boost Your Channel Subscribers
7. Video & Audio Editing Software
In your system, you must have some efficient video & audio editing software. To make a good video by editing the raw footage & audio, video & audio editing software will help you. Initially, most OSs (Operating Systems) come with their default editing programs like Windows Movie Maker on Windows platforms or iMovie on Mac OS. They are user-friendly but offer only basic features.
If you want more than that, try installing various editing apps & software available online. Many of them are free, & many of them are not. Some offer basic functions in free mode; to unlock more, you need to purchase them, while some offer a trial period. If you want to use them beyond that, you need to buy them.
8. External Storage
Video recording occupies a lot of space. This is particularly true if you are recording in 4K HDR quality. Even Full HD videos can eat up your smartphone’s storage space.
You are mistaken if you think that 512GB is sufficient space for storing your footage. 512GB can only hold four hours of 4K or 10 hours of 1080p Full HD video recordings. This doesn’t even count the phone’s operating system files, the apps you have installed, & other data you have on your phone or laptop.
If your phone or laptop is capable, you should install the biggest possible storage card it supports. Otherwise, it’s wise to invest in either a USB-C flash drive to save your videos after recording & editing them or an external hard drive.
Do I Need To Buy A Drone For My Vlog?
Drones are one of the Best Vlogging Tools, but they are expensive. Drones can be helpful if you are a travel vlogger or adventure vlogger. They can offer you a breathtaking birds-eye view of the place from as high as 1.8 miles which will make your video more attractive.
But beware of the rules about flying a drone in different countries. In almost all countries, flying a drone above a military establishment or protected places are banned. Before flying one, study those rules to avoid trouble. Moreover, you can see many videos where the drone crashed & got lost because it went out of range. If you are willing to use a drone, you must also risk it.
FAQ
Q: Are tools needed for vlogging expensive?
A: There are many tools in your budget out there; they don’t need to be expensive. Research a bit & you can find many affordable options.
Q: How much should I invest to start vlogging?
A: You don’t need to invest a fortune in Best Vlogging Tools. You can assemble all necessary equipment by investing $399-$500.
Q: Can I start vlogging by using my smartphone?
A: Of course, you can if your smartphone is equipped with a great camera & microphone. Even with a smartphone you can consider using a tripod.
Q: Is 1TB of storage good enough to store my vlogs?
A: Certainly it is, but 4K or 1080p videos consume lots of space, eventually, with number of vlogs that space will run out. It is wise to keep some external hard drives handy.


